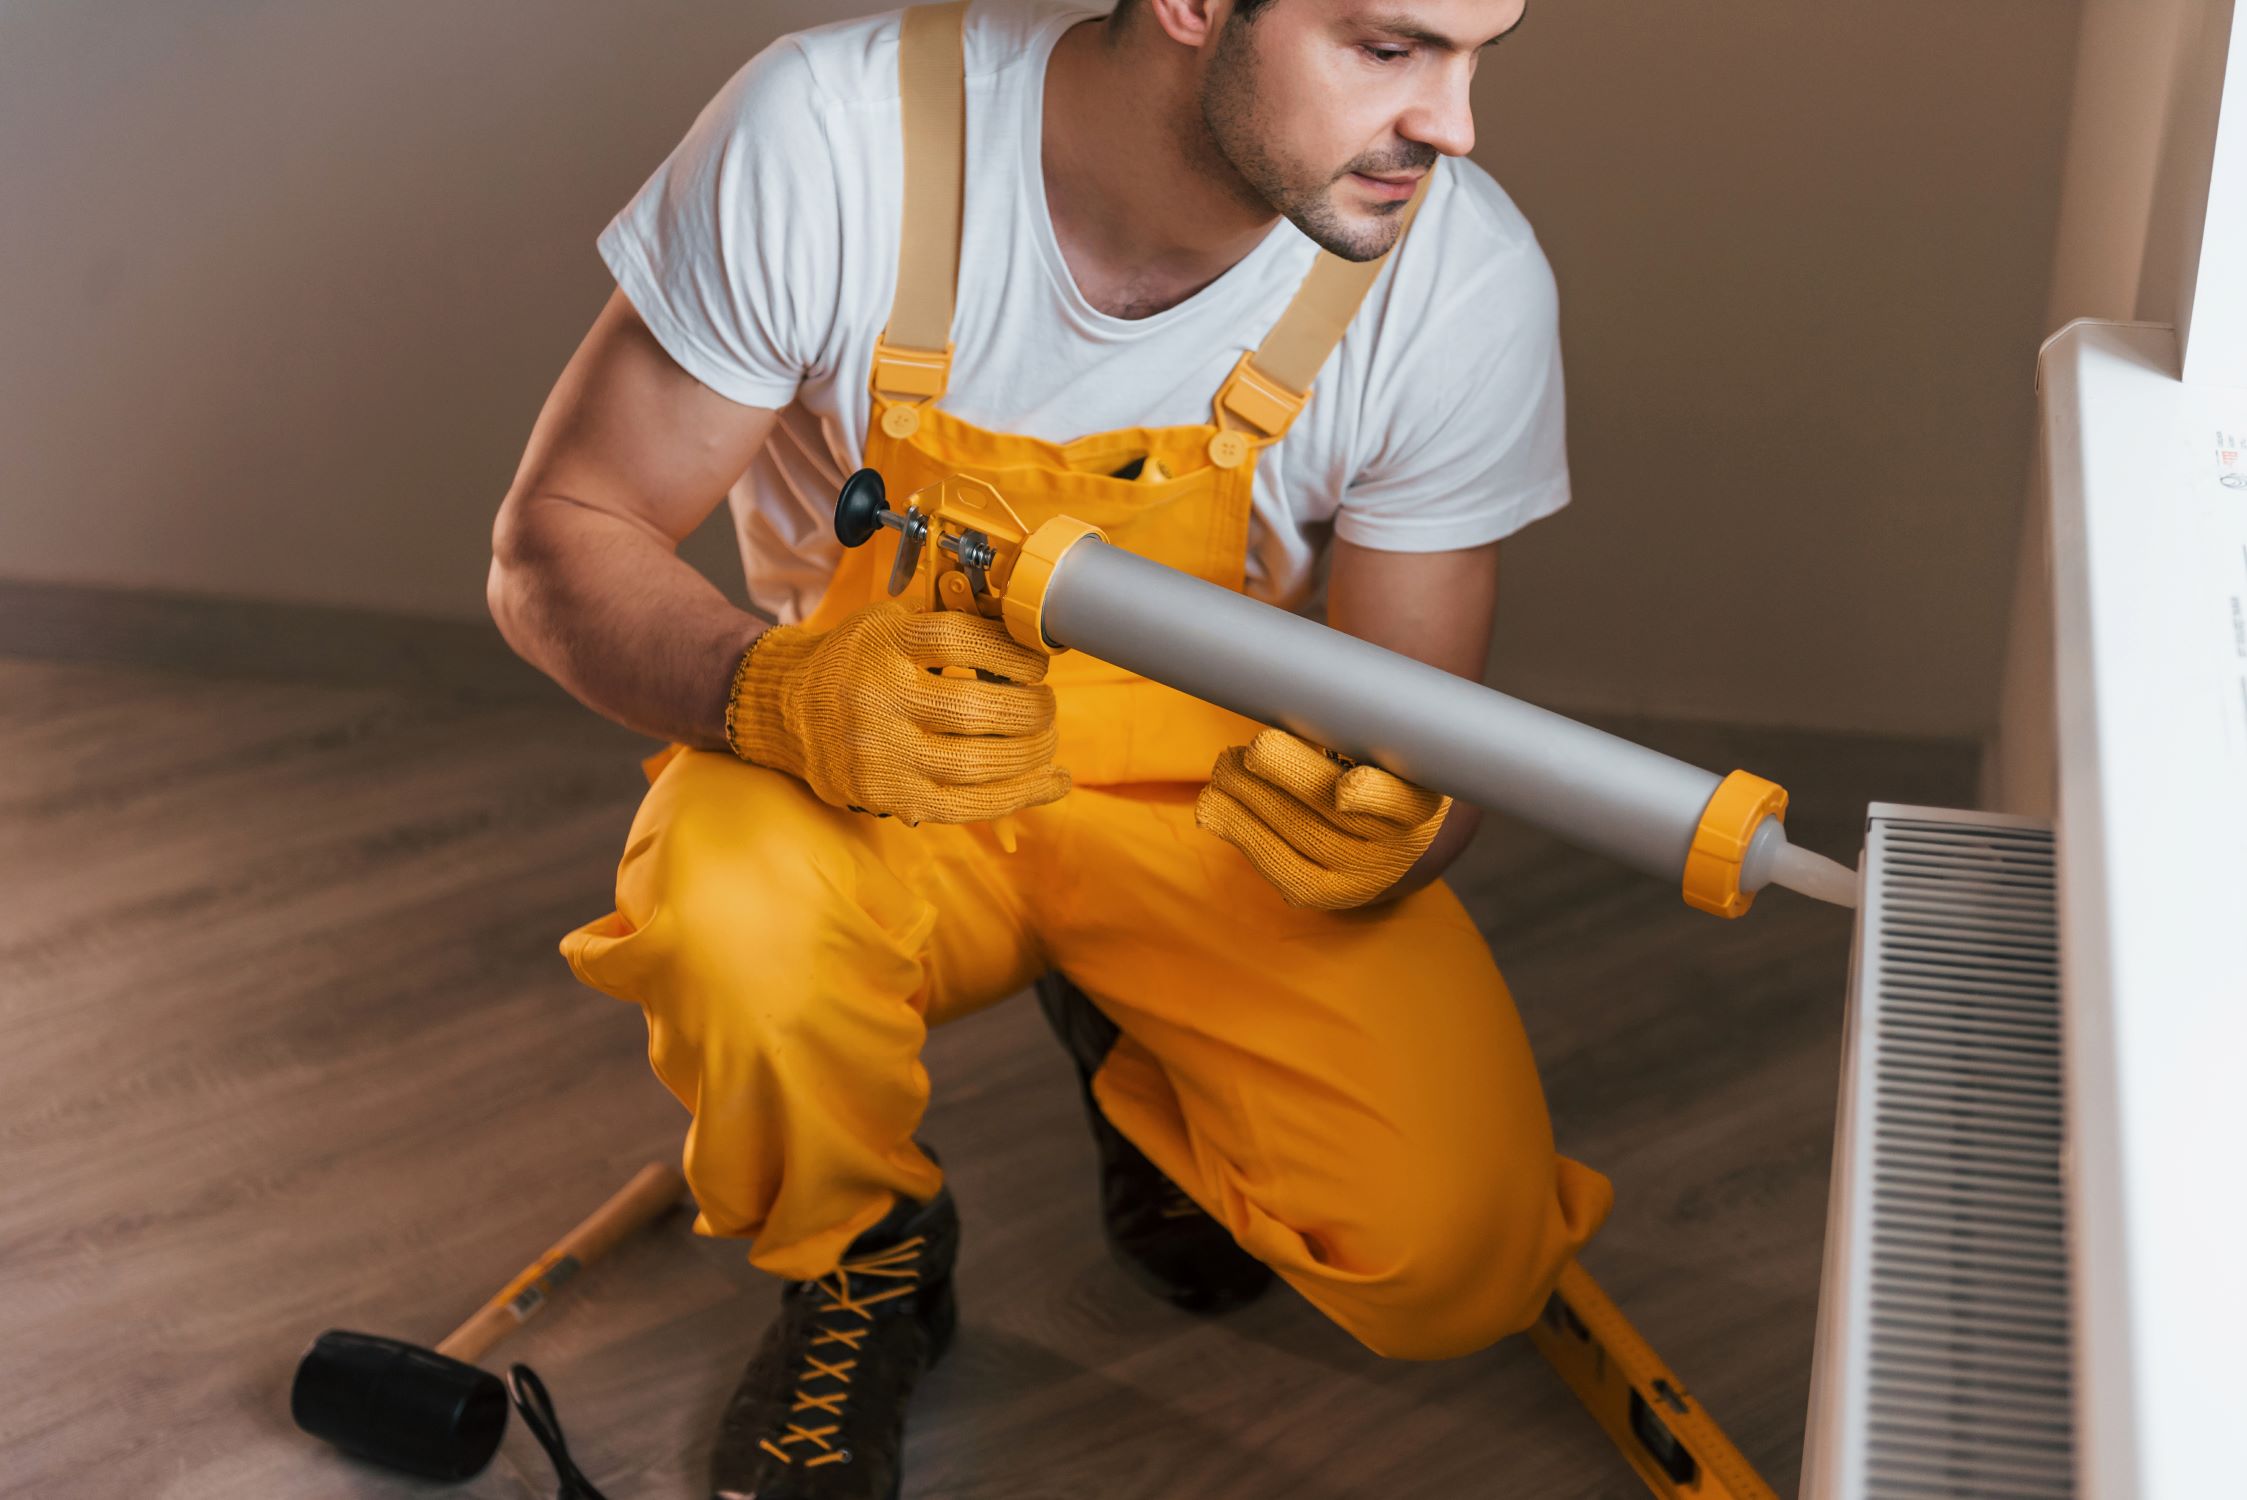
DIY Home Repairs Made Simple: A Handyman's Guide" is your roadmap to mastering household fixes with confidence. From squeaky hinges to leaky faucets, this guide demystifies the world of DIY repairs, empowering you to take control of your home's maintenance.
Embarking on do-it-yourself (DIY) home repairs can be both empowering and practical. With the right knowledge and tools, you can save time and money by tackling common household issues on your own. In this handyman’s guide, we’ll explore practical tips and step-by-step instructions to make DIY home repairs simple and straightforward.
The first step in any DIY home repair project is identifying the problem accurately. Whether it’s a leaky faucet, a squeaky door, or a clogged drain, take the time to diagnose the issue before jumping into repairs. Understanding the root cause will guide your repair efforts and ensure a long-lasting solution.
Once you’ve identified the problem, gather the necessary tools and materials for the repair. Basic tools such as screwdrivers, wrenches, pliers, and a utility knife are essential for most repairs. Additionally, specific repairs may require specialized tools or materials, so be sure to check your toolbox and make a trip to the hardware store if necessary.
Before diving into the repair, take a moment to familiarize yourself with the steps involved. Many DIY home repair tasks have step-by-step instructions available online or in home improvement books. Follow these instructions carefully, and don’t hesitate to seek clarification if any steps are unclear. Taking a methodical approach will help you avoid mistakes and achieve professional-quality results.
Safety should always be a top priority when undertaking DIY home repairs. Before starting any repair, be sure to turn off the power, gas, or water supply to the area you’ll be working on. Wear appropriate safety gear, such as goggles, gloves, and a dust mask, to protect yourself from potential hazards. If you’re unsure about safety precautions or the complexity of the repair, consider consulting a professional for assistance.
Once the repair is complete, test your handiwork to ensure everything is functioning as it should. Turn the water or power back on and observe the repaired area for any signs of leaks, malfunctions, or other issues. If everything looks good, pat yourself on the back for a job well done. If not, don’t be discouraged—troubleshoot the problem and make any necessary adjustments until you achieve the desired result.
With the right approach and a bit of know-how, DIY home repairs can be both rewarding and cost-effective. By following these simple guidelines and taking the time to properly identify, prepare for, and execute repairs, you can maintain your home’s functionality and appearance without breaking the bank. So roll up your sleeves, grab your toolbox, and let’s get started on making DIY home repairs simple and stress-free.

fixit@domain.com
+12 3456 7890